# Safety
In the module Safety you can view and plan the safety drills.
# How do I create a new category?
1. Select the module **Administration** and choose **Safety**.
[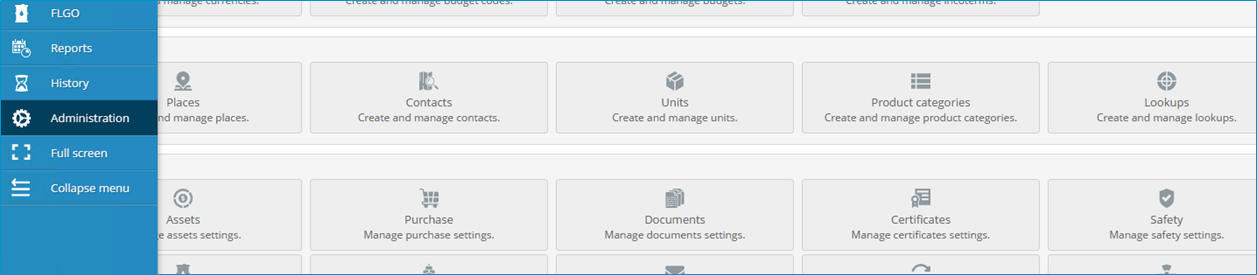](https://docs.mxsuite.nl/uploads/images/gallery/2024-11/administratino.png)
2. Click **New...** to add a new category.
[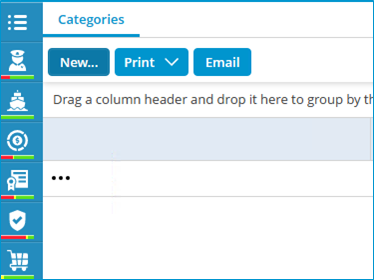](https://docs.mxsuite.nl/uploads/images/gallery/2024-11/administrationsafety.png)
3. Fill in the fields and click on **Save & close.**
# How do I add a new drill?
1. Click on **New...**
2. Complete all required fields.
[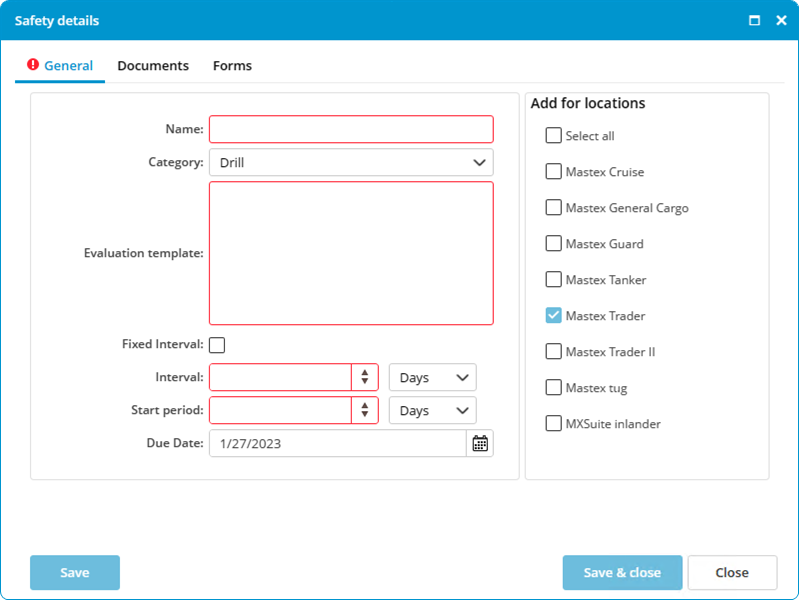](https://docs.mxsuite.nl/uploads/images/gallery/2024-11/newdrill.png)
The **Start period** is the timeframe in which the drill must be completed. During this period the drill will be orange.
3. Select the **locations** to which the safety drills must be added (only visible in the office version).
4. Click on **Save & close.**
If the new drill already exists at the other location, the following warning will appear:
[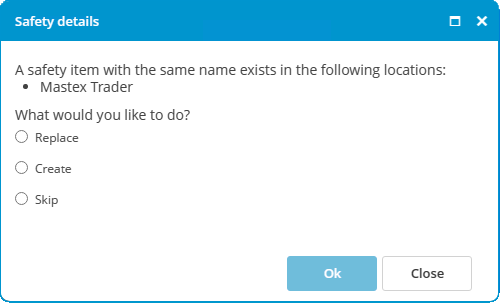](https://docs.mxsuite.nl/uploads/images/gallery/2024-11/drillalreadyexists.png)
Make a selection and click **Ok**.
# What does the fixed interval option do?
The fixed interval option can be selected when you create a:
- maintenance task.
- safety drill.
The following table clarifies what this option does.
A task or a drill has an interval of one month.
|
| **No fixed interval** | **Fixed interval** |
|---|
| Expiration date | 1 January | 1 January |
| Date of first execution | 3 January | 3 January |
| Next expiration date | 3 February | 1 February |
| Date of second execution | 6 February | 6 February |
| Next expiration date | 6 March | 1 March |
With a fixed interval, the next expiration date is always calculated from the first expiration date.
# How do I reorder categories?
1. Navigate to **Safety** within the **Administration** module.
2. Right-click on a **category** and select **Reorder...**
[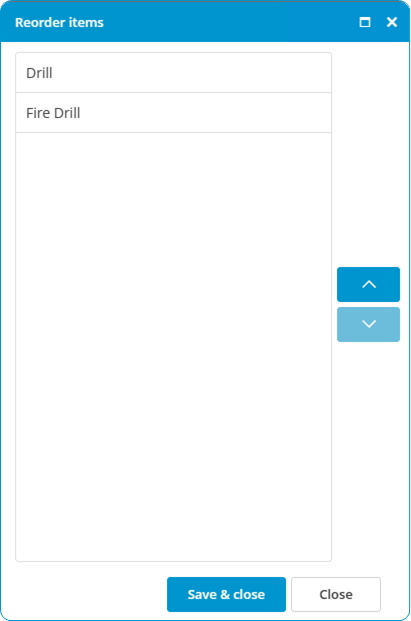](https://docs.mxsuite.nl/uploads/images/gallery/2024-11/administrationsafetyreorder.png)
3. Select a category and use **Move up** and **Move down** to change the order.
4. Click on **Save & close.**
# How do I change the ordering of the drills?
1. Right-click on a safety drill and select **Reorder safety items...**
[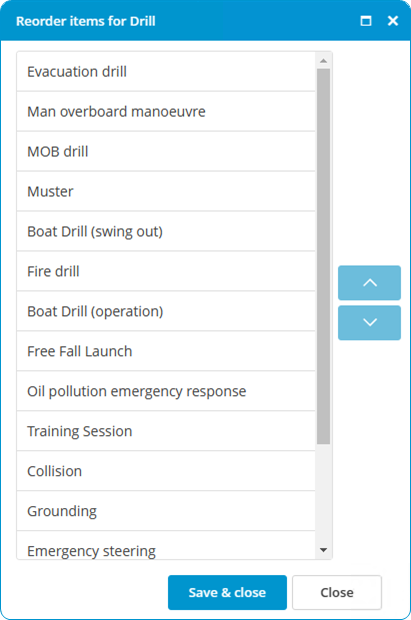](https://docs.mxsuite.nl/uploads/images/gallery/2024-11/safetyreorderdrillsforcategory.png)
2. Select a safety drill and use **Up** and **Down** to change the ordering.
3. Click on **Save & close.**
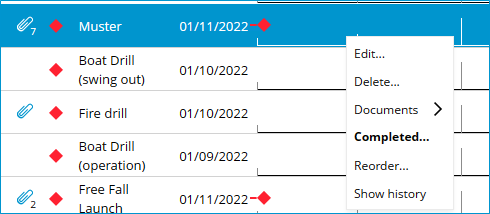
# How do I mark a drill as done?
1. Double-click the time bar of the completed drill or right-click on the drill and select **Completed...**
2. Enter the drill data.
[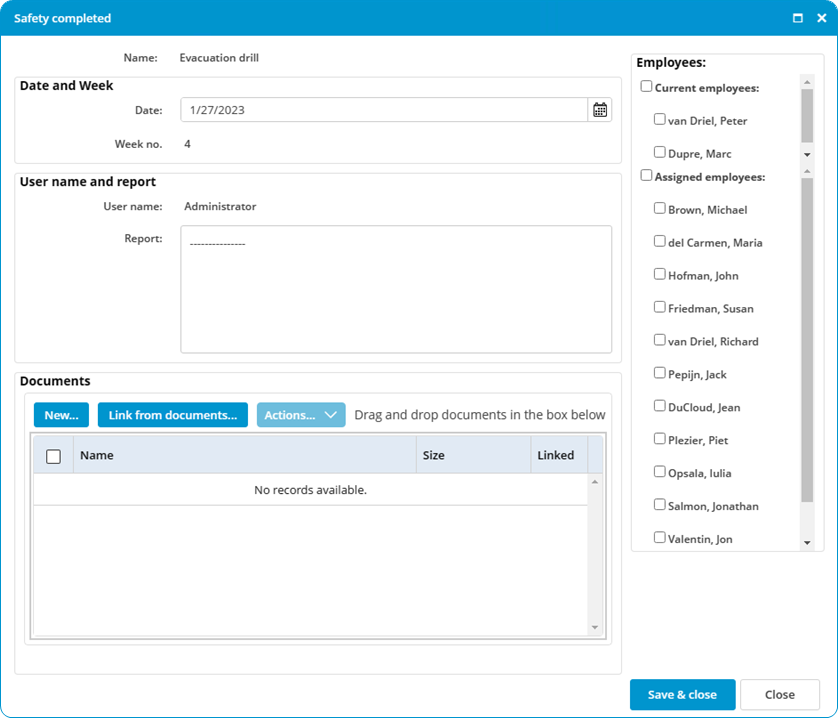](https://docs.mxsuite.nl/uploads/images/gallery/2024-11/safetydrillsafetycompleted.png)
3. Double-click the time bar of the completed drill or right-click on the drill and select **Completed..**
4. Enter the drill data.
# How do I link a form to a drill?
1. Select **Edit...** for the desired drill.
[](https://docs.mxsuite.nl/uploads/images/gallery/2024-11/drilledit.png)
2. Within the **Forms** tab selected the desired forms.
[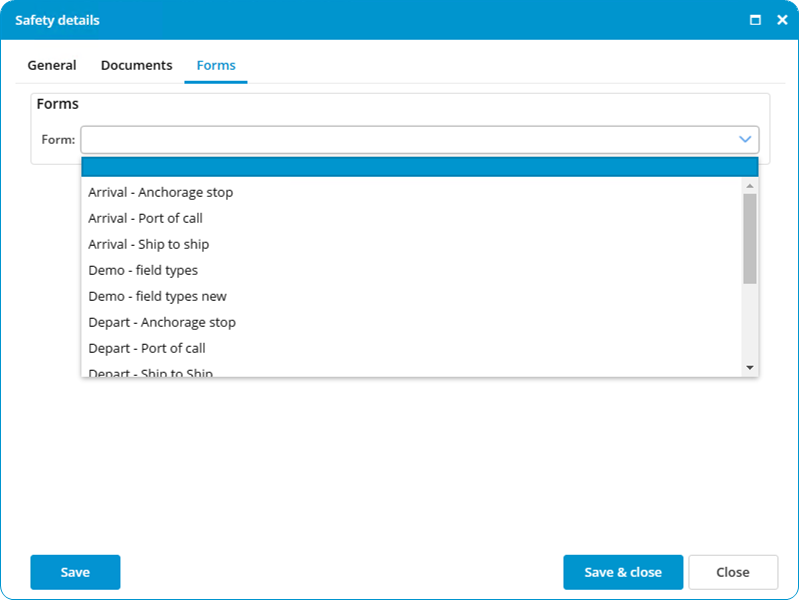](https://docs.mxsuite.nl/uploads/images/gallery/2024-11/drilleditform.png)
3. Click on **Save & close.**